
Final Project Process
I decided to combine this project with another project I had to create in Interface Lab. I created a combination lock game using the Arduino and some buttons where you had to guess the right combination of buttons to turn on the lights on the breadboard. I wanted to build off this game and create something where the user had to interact with the Arduino and p5. After researching different ways to create games in p5, I decided to create the ball catching game.

On the breadboard, there is a sensor, the potentiometer,
that moves the main character. When the user turns
the potentiometer, it corresponds with the character so if it's turned to the left then it moves the character to the left of the screen and when it's turned ot the right it moves to the right side of the screen. There are also 4 colored buttons on the breadboard that correspond with the circles that fall from the top of the screen and match the same colors that are on the screen.

When the game starts, an alert will pop up on the screen going over the directions and make sure the user is ready to play. Once the user clicks "ok" on the alert, the game starts. The goal is to catch a certain number of balls in the box to move on to the next level. The user use the potentiometer to move the character across the bottom of the screen to catch the circles. As long as the circles are caught within the parameters of the box the user will receive a point for each circle the user catches. The color of the box also has to match the color of the falling circle. The user can change the color of the box by pressing the corresponding colored button. If the color of the box doesn't match the color of the circle when the circle reaches the box then the game is over. The more circles the user catches in the box the faster the circles start to drop from the screen. The speed of the circles slowly increases until the user misses catching a circle and then the game ends with an alert. If the user wants to play again, they just have to click "ok" on the alert and the game automatically restarts. This is also depicted in the instructions of the alert.

To start coding this game, I had to code the Arduino potentiometer and buttons so they could
connect to p5 and I had to input the basic code to connect p5 to the serial monitor to connect with the Arduino. Once I had my sensors information coming into p5, I started playing around with how to start moving the main character around and using that information as apart of my game. The process moved really slowly because of the connection and how often the code broke, so I decide to move into a regular p5 page and start creating my game there. I created variables for the x and y components of the character and the ball, a size variable for the size of the circle and one for the speed. I started hardcoding the information for the ball and moveable character, but I kept having to change too many variables as I was exploring how I wanted the game to work. I ended up creating variables for any number that was changing frequently, so that it made it easier to change something in the code and I could change it easier in the future. Using Figma, I also decided to edit this image and design my character as an image since hard coding shapes as an image was too hard to figure out in the short time,


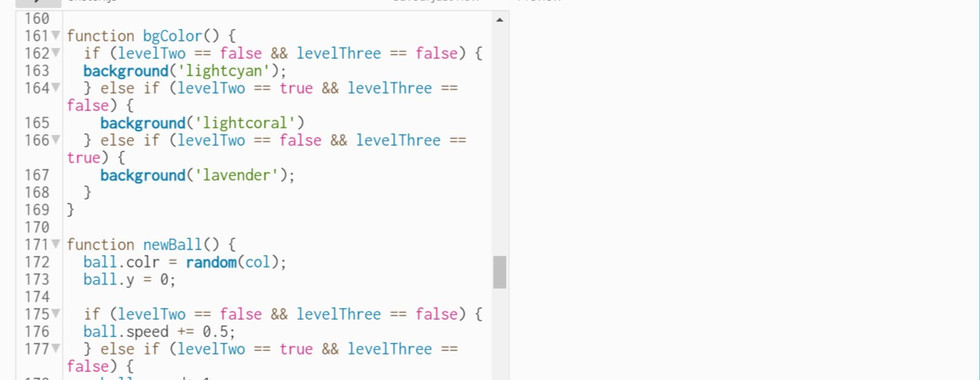


I then added a class for my ball since hardcoding the ball wasn't working the way I wanted it to. I found this code and started using the functional basics of this code to program my game. I decided to use different functions and call them when necessary to make it easier to program. Also it made the code easier to read since each function has it's specific purpose. I have functions to start the game, end the game, changing the background color for each level, changing the level and so on. I didn't want to code everything in the draw and setup functions because there were too many parts that inly needed to be called or checked once later than if put in the setup program. I used only conditional statements in the code to constantly be checking for different changes in variables and changes in different states. These conditional statements being called over several different functions is what built the game. The code for the mouse-designed game can be found here. I eventually moved the game over to the code with the Arduino and serial monitor set up and connected the parts that I needed to my sensors. I had some trouble making all the connections work, but with David's help I realized that I had to move my code around to make it work in the same way. I added some additional levels and some more interactivity by prompting the user, when they lose, to see if they want to play again. I wanted to create a "case" or something to house my breadboard so the user wouldn't have to see the wires, but with the current tools that I had available I wasn't able to create something big enough. That is something I definitely want to add within my next steps. The current code for my project can be viewed here and below is a video of how the game works.
Bill of Materials
Arduino
Potentiometer Sensor
4 buttons
M/M cables
Final Game
Comments