With this lab, I still came across some difficulties, but overall I found that I was able to figure out and troubleshoot this lab easier that I had with the past lab. I initially had difficulty working with the potentiometer since I don't have alligator clips so it was initially hard to figure out how to connect the sensor to the board and still be able to move the turning part. Once I figured out how to wire that part, wiring the DC side was much easier. I realized that I'm getting used to wiring the direct current side.
I was able to follow the code pretty easily and had no problems troubleshooting any problems that came up. I did try the code with the speaker and was able to get that to work pretty easily as well which impressed me since I thought wiring the speaker was harder. It was a little tricky without alligator clips, but I was able to structure my wires in a way that they were stable enough to play a sound.
I wasn't able to finish the lab because I didn't have my alligator clips on me so I couldn't use the force sensor in this lab. I do want to revisit this lab and try using the force sensor. I did just try sticking them in the breadboard, but they weren't being read and I didn't want them to break as they feel really fragile.
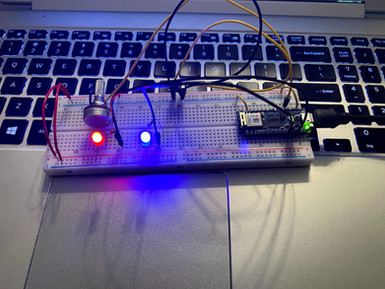
I did play around with this lab some more and was able to connect two LEDs to the potentiometer which thought was really interesting. The second LED wasn't being read all the time which might have something to do with what the potentiometer is able to read, but I was satisfied that I was able to try something different and have it work.


Comments